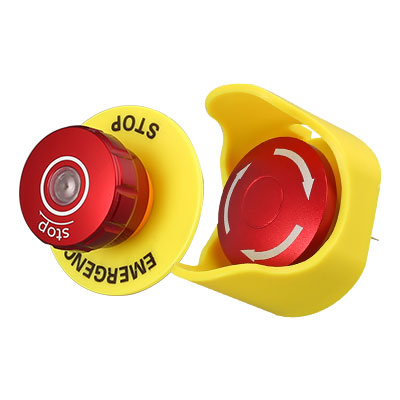
What should be paid attention to when welding the 19mm button switch on the panel
What to Consider When Welding the 19mm Button Switch on the Panel
When it comes to installing and welding the 19mm button switch on a panel, attention to detail and proper technique are crucial. Whether you are working on a stop-start button or a 12v switch panel, ensuring a secure and reliable connection is essential for the smooth operation of the electrical system. In this article, we will discuss the key factors to consider during the welding process to ensure a successful installation and optimal performance of the 19mm button switch.
Selecting the Right Welding Method
Before starting the welding process, it is important to select the appropriate welding method for your specific application. Common welding methods include soldering, brazing, or using a welding machine. Each method has its advantages and considerations, such as the type of material being welded, the level of precision required, and the available equipment.
Preparing the Button Switch and Panel
Prior to welding, proper preparation of both the button switch and the panel is essential. Start by ensuring that the surface area where the switch will be mounted is clean and free from any debris or contaminants. This will help to achieve a strong and reliable bond between the switch and the panel.
Aligning the Button Switch
Proper alignment of the button switch is crucial to ensure its functionality and aesthetics. Carefully position the switch on the panel, ensuring that it is centered and aligned with any existing markings or indicators. This will ensure a professional and visually appealing installation.
Applying the Welding Technique
When applying the welding technique, it is important to follow the manufacturer's instructions and guidelines specific to the chosen welding method. This includes determining the appropriate temperature, duration, and pressure required for a successful weld. Depending on the welding method, additional equipment such as flux or filler material may be necessary.
Ensuring a Secure Connection
During the welding process, pay close attention to achieving a secure and reliable connection between the button switch and the panel. This can be achieved by ensuring that the welding material fully adheres to both the switch terminals and the panel, creating a strong bond. Additionally, verify that the weld has evenly covered the contact points to prevent any loose connections or potential electrical issues.
Testing and Quality Assurance
Once the welding process is complete, it is important to perform thorough testing and quality assurance checks. This involves verifying the functionality of the button switch, ensuring that it operates smoothly and reliably. Test all relevant functions, such as the on/off mechanism or any other specific features of the switch, to ensure proper operation.
Safety Considerations
Throughout the welding process, it is crucial to prioritize safety. Ensure that you are working in a well-ventilated area and take necessary precautions to protect yourself from any potential hazards. If working with live electrical systems, ensure that the power is disconnected before starting any welding activities.
Conclusion
Welding the 19mm button switch on a panel requires attention to detail and adherence to proper techniques. By selecting the right welding method, preparing the switch and panel, aligning the switch accurately, and applying the welding technique with care, you can achieve a secure and reliable connection. Remember to perform thorough testing and quality assurance checks to ensure the functionality of the button switch. By following these guidelines, you can confidently weld the 19mm button switch onto your panel, ensuring optimal performance and reliability for your electrical system.
 HB-TS Series Touch Switch Product Introduction | HBAN Push button
 HBPS series Piezoelectric switch Product Introduction | HBAN Push button
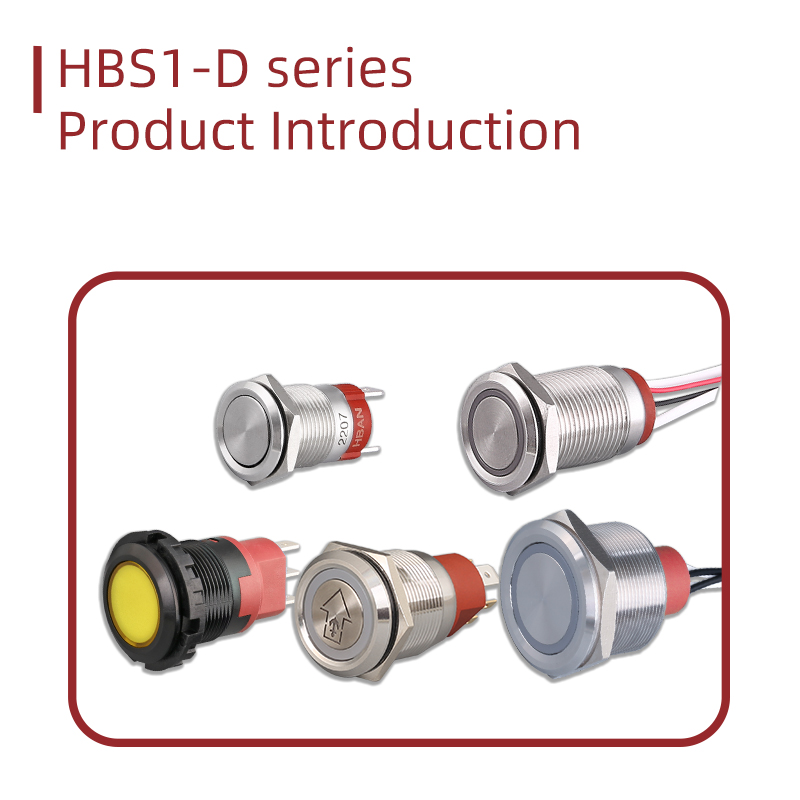 HBS1-D series push button switch Product Introduction | HBAN Push button
 HB-K10 HB-K20 Series Product Introduction | HBAN Push button


